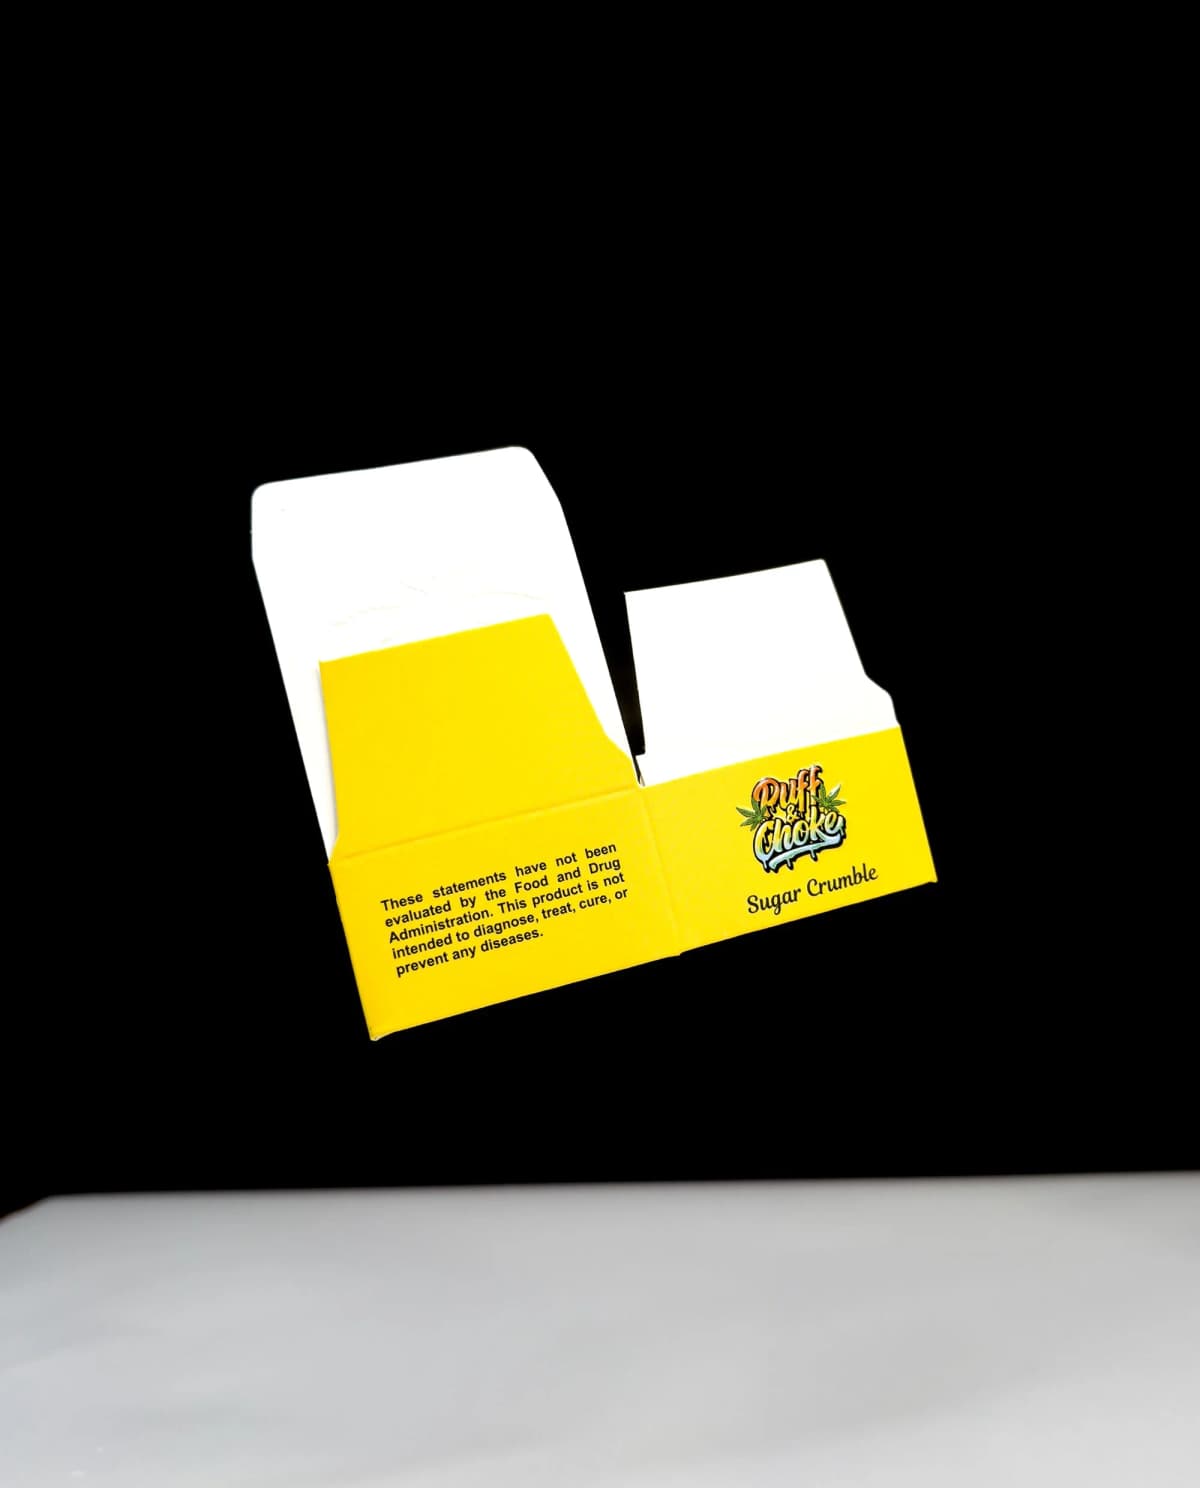
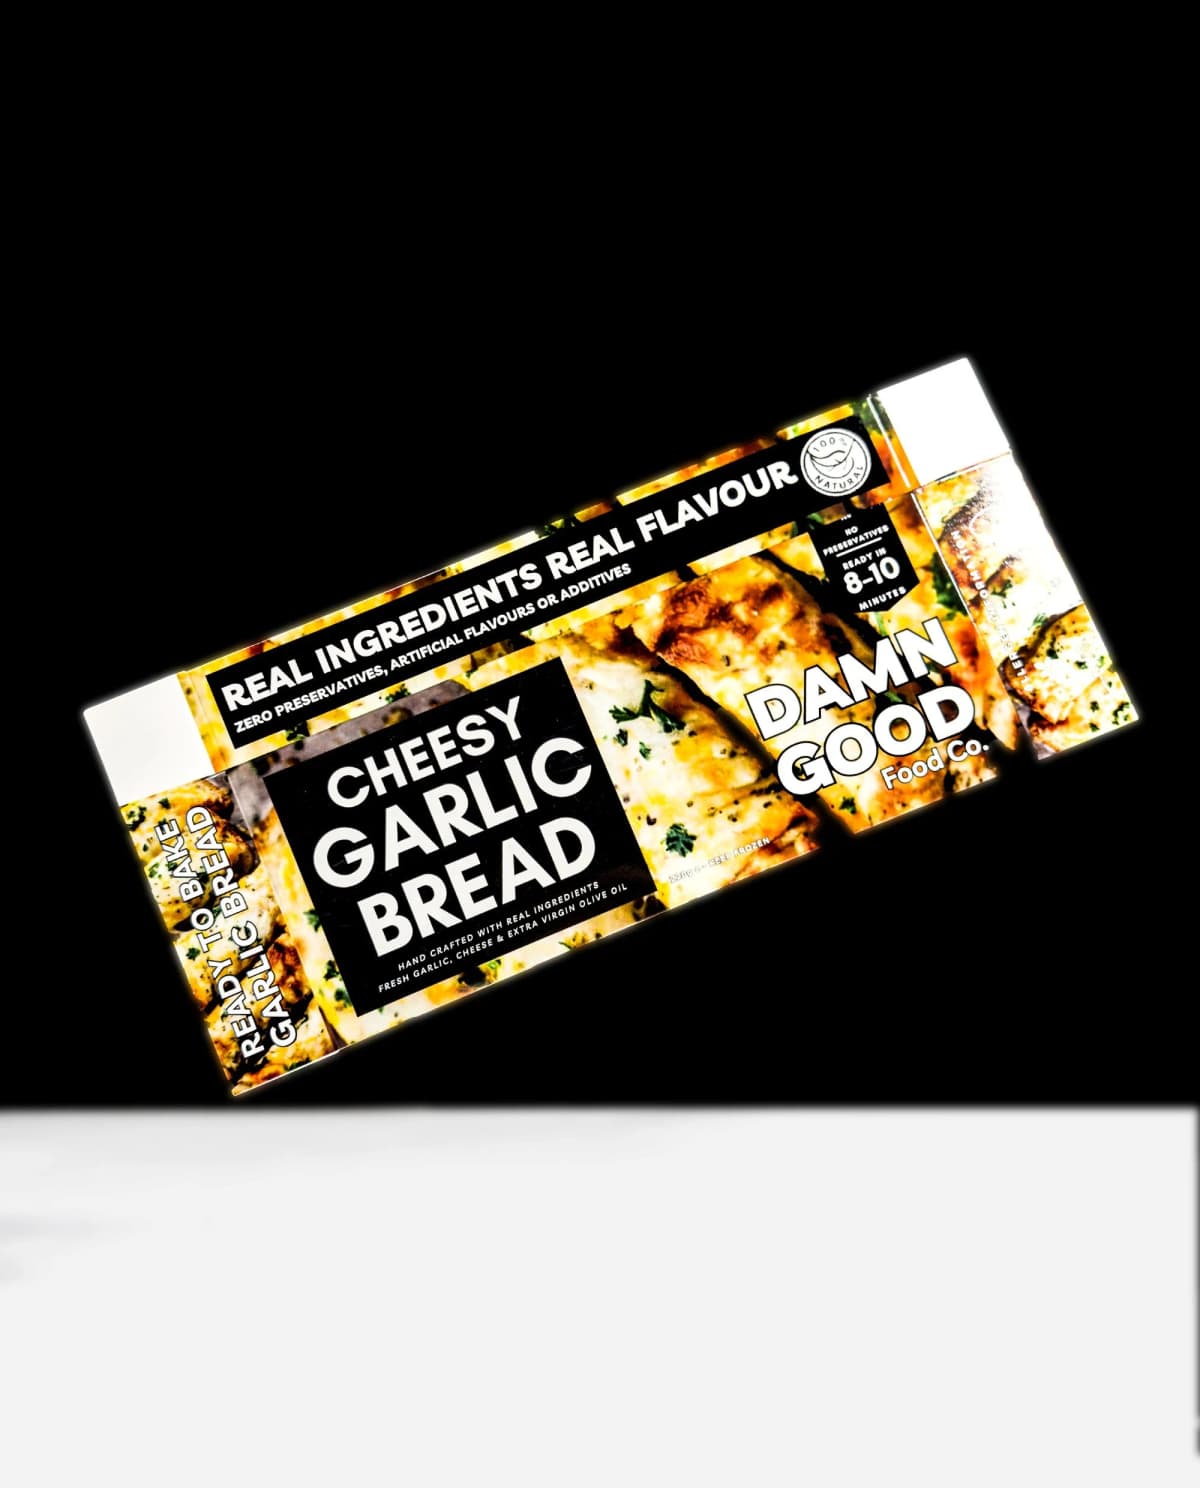
Custom Product Boxes
Most people arriving here have a finished product and no packaging yet. That is a specific problem with a fairly reliable order of operations: settle the structure, then the size, then the retail requirements, then the artwork. Doing it in that order avoids the expensive version of this project, which is a beautiful design that does not fit, does not scan, or does not stand up on a shelf.
FSC Certified
Sustainably sourced paper and board
Food-Grade Safe
FDA-compliant materials for direct food contact
Recyclable options available
Uncoated kraft and paper builds qualify; laminated, foil and rigid builds do not
Sedex Member
Audited for ethical, responsible sourcing
Specifications
- Material
- Cardboard / Kraft / Corrugated
- Printing
- Full-Color CMYK / Offset
- Finish
- Matte / Gloss Lamination
- MOQ
- 100 Units
Printing & Finishing
- Full-Color CMYK
- Spot Colors (Pantone)
- Interior Printing
Start With How It Is Sold
Structure follows the sales channel more than it follows the product.
A product sold from a shelf needs a strong front panel, a footprint that works in a row of facings, and a finish that survives being handled and replaced. A product on a peg rail needs a reinforced hanger tab, and the design has to work when the top 30mm is a hanging panel. A product sold online is never seen at arm's length, so detail and opening experience matter more than shelf legibility - and it needs a shipping solution around it. A product sold in a display unit has to stand upright without tipping, which constrains the base.
Products that ship individually to customers need a corrugated mailer around the retail box, or a corrugated retail box. A printed folding carton on its own will not survive a courier network.
Barcodes, Shelf Data and Retailer Requirements
This is the step most first-time packaging projects miss, and it is the one that causes reprints.
A retail barcode needs a quiet zone around it, adequate contrast, and a flat area to sit on - a barcode printed across a fold or over a busy image will not scan reliably. Reserve a clear rectangle on the base or back panel before the artwork is laid out, not after.
If you are selling into a retailer, ask for their packaging specification early. Many have requirements on barcode placement, case markings, dimensions that fit their shelf modules, and sometimes shelf-ready packaging that opens into a display tray. These are not negotiable at delivery, and they are cheap to design in at dieline stage.
Getting the Size Right
Measure the product at its widest point on each axis, assembled, with any cap, lid or applicator in place. Give us length x width x depth. You are describing the space the product needs, not the board around it - we handle that.
Allow 1-2mm clearance per axis for a rigid product and more for anything soft or irregular. Then consider whether the product should be held rather than simply contained: an insert, partition or tray stops movement, protects the contents, and turns opening the box into a presentation. Anything fragile, anything glass, and anything sold as a set benefits from one.
Common Starting Points
- Small hardware or accessory: around 90 x 60 x 40mm.
- Standard consumer product: around 120 x 80 x 180mm.
- Electronics with an insert: around 200 x 150 x 60mm, often a two-piece.
- Peg-hung product: around 100 x 40 x 200mm plus a hanger panel.
- Multi-item set: around 250 x 200 x 80mm with a partitioned tray.
Reference points only - every box is cut to the product it holds.
Launching a Range Rather Than One Box
Few products launch alone. If you are bringing out three variants, the efficient approach is one dieline with three artworks: the structure is originated once, and each variant is a print run. Where the variants differ in size, each size is its own dieline and its own 100-unit minimum - but with no die, plate or setup charges, the only cost difference is the unit price at the smaller quantity.
Keep a consistent design system across the range and let one element carry the variant - a colour field, a name, an icon. Ranges that redesign per variant fragment on shelf and cost more to originate.
Order a Sample Run Before You Commit
A digital proof shows you the artwork on the structure, and it is accurate - but it is a render, and there are things a render cannot tell you. How the box feels in the hand at a given caliper. Whether the fit is snug or tight. How long it takes to pack. Whether the finish shows fingerprints under shop lighting.
Because our minimum is 100 units per style with no die, plate, or setup fees, a first order can function as a real-world sample run: you get physical boxes, pack real product into them, and put them in front of customers before committing to volume. Reordering the same box afterwards carries no tooling cost, so nothing is lost by starting small. For a first-time packaging project, that is usually a better sequence than optimising every decision on screen.
Stock, Finish and What Signals Quality
The two cheapest quality signals are stock weight and interior printing. Moving from 14pt to 20pt costs little and changes how the box feels immediately; a printed interior costs nothing extra with us and is the first thing a customer sees when the box opens. Soft-touch lamination, foil and embossing sit above those. The full range of stocks and finishes is set out on our materials and printing page.
What Happens Next
Send us the product dimensions or the product itself, how it will be sold, and roughly what quantity you need. We will recommend a structure and quote within 24 hours, then build a dieline and a digital proof - nothing is printed until you approve it. Production is 10-15 business days from approval, 8-10 on a rush, minimum 100 units per style, with free shipping across the USA and no die, plate or setup fees at any quantity. Related: cardboard boxes and the full range by box style.
Custom Product Boxes — FAQs
Got questions? We have answers. If you need anything else, get in touch.
Start with weight and how it will be sold. Light retail products suit a straight or reverse tuck-end; anything heavy needs an auto-bottom that locks under load; products sold on a peg rail need a hanger panel. Send us the product dimensions and we will recommend the structure.
Yes. Every order includes a free custom dieline built to your product dimensions and a digital proof before anything goes to press. Nothing is printed until you approve the proof.
Yes, but each size is a separate dieline and carries its own 100-unit minimum. There are no die or plate charges for the additional sizes, so the only cost difference is the unit price at the smaller quantity.
Ready to start your project?
Tell us what you need. We get back to you within a business day.